

I love the rustic look of burlap. You can make this basic table runner for your next event or just to decorate your kitchen table. Decide on your dimensions--how wide and long off the sides of your table you want it to fall. This one is 58"x 11" and fits a small table. You can wash your burlap ahead of time or work on it without washing (which is what I did). I'm going to try pre-washing the fabric next time and see how that goes. (it will help cut down on all the loose fibers of burlap you'll get everywhere) I found this great tutorial {On Sutton Place} showing you how to wash, dry and cut burlap. I was so excited to learn this easy way to cut burlap in a straight line (it's changed my burlap cutting life!) Find the spot where you would like to start cutting and make a snip in the fabric.

See that loose strand next to the snip? -- start pulling it out.

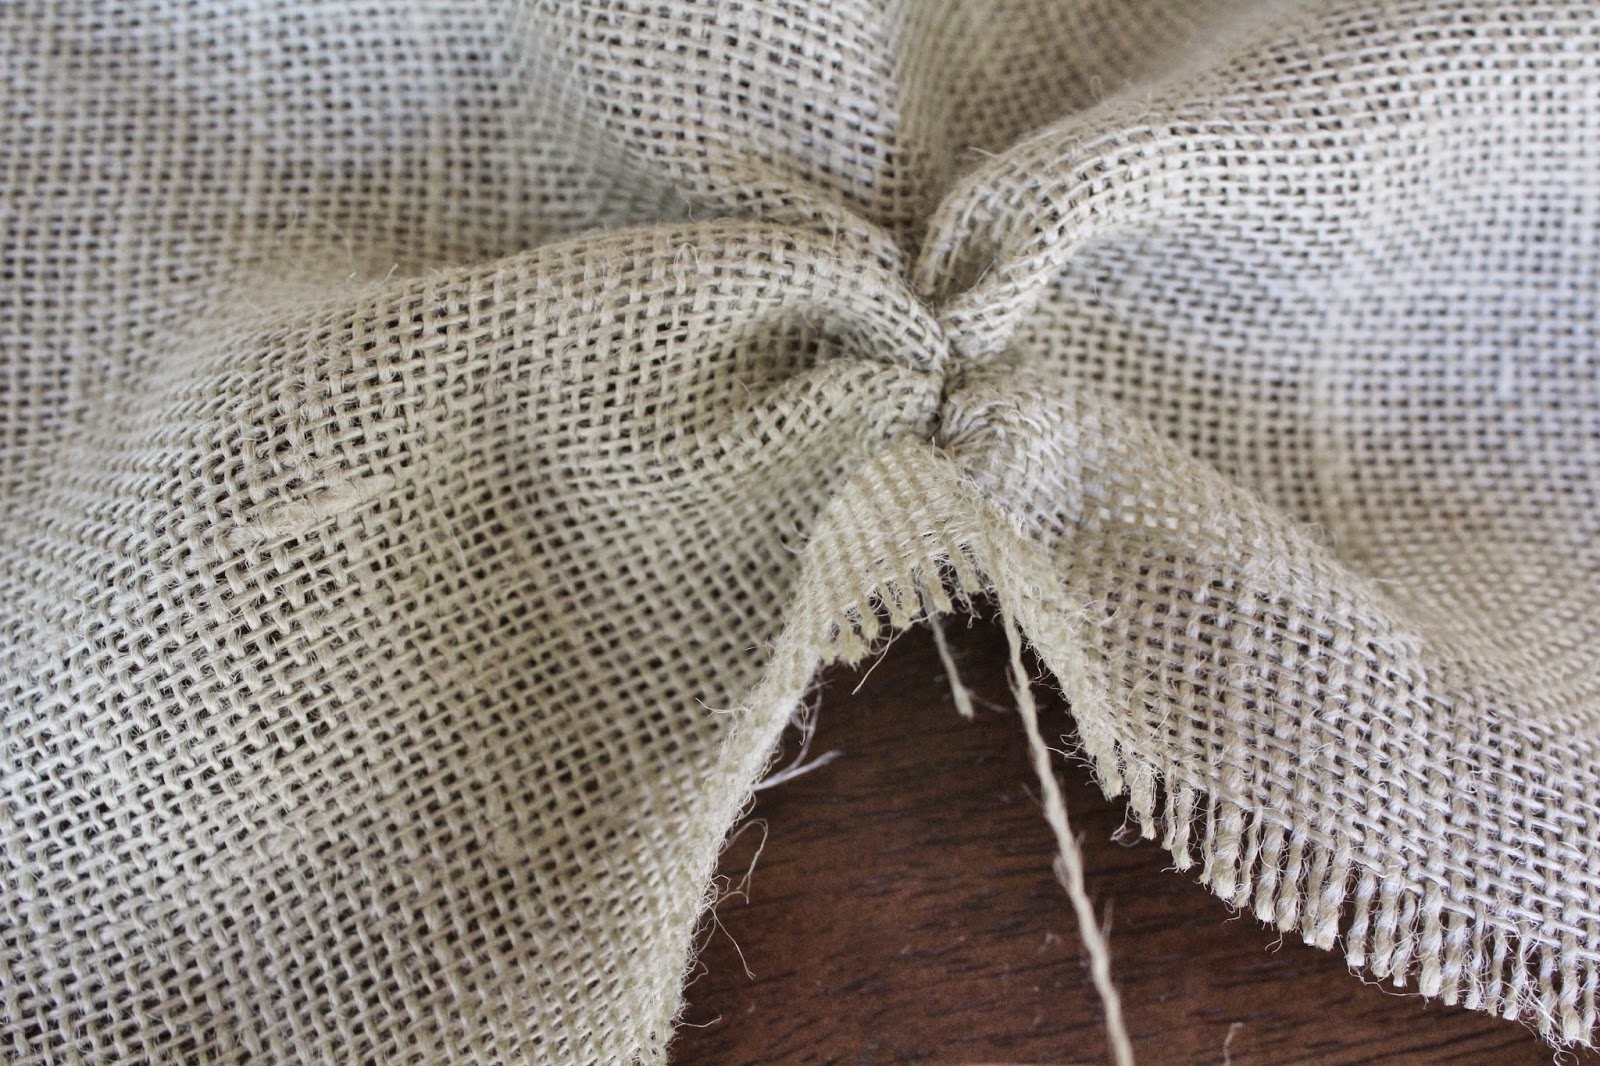
You'll end up with this perfect line to follow and cut straight.


This cutting discovery is so awesome!
After you have your dimensions cut, decide how much fringe on the side of your runner you want and pull out some of the side strands to make your fringe. If you wanted, you could fringe all 4 sides of your runner and be done. No sewing. I made some runners this way for a women's conference a few years back and it worked out great.
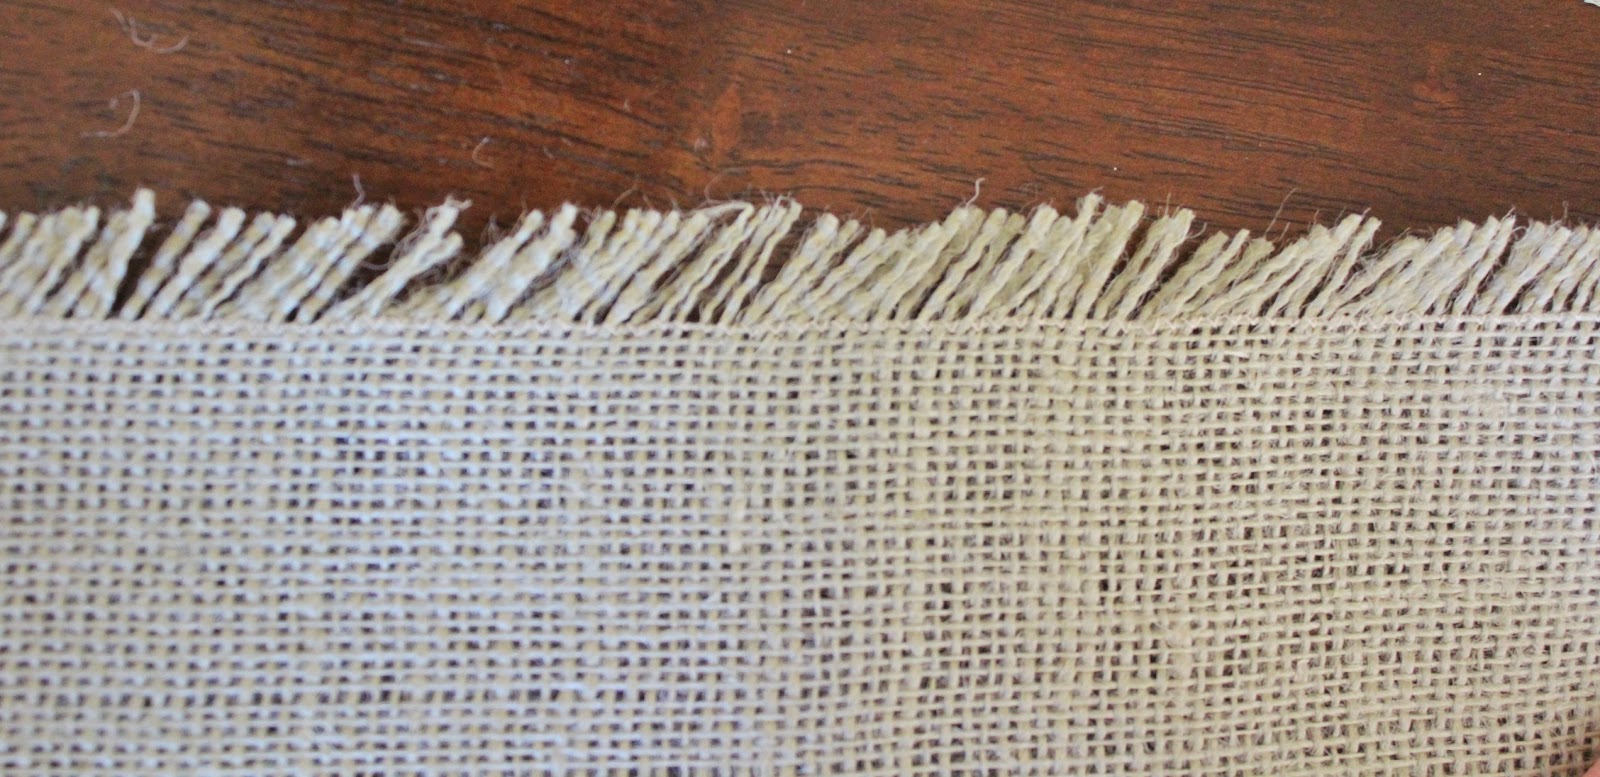
For this runner, I wanted a shorter side fringe and didn't want strands to possibly start coming out. Plus, I wanted to "girl it" up a bit with a ruffle.
Insert your runner in your sewing machine, with the last, long vertical strand so it is hitting down the middle of the presser foot. Use a medium to small zig-zag stitch, down the side of your runner along that strand. Sew down both sides of runner.


Decide how big you want your ruffle. I just wanted it slightly pleated so the width is about 4" wider than the runner itself and the length will make it a "chunky" ruffle at 10". Cut 2 at your ruffle size (mine is 14 1/2" x 10") Zig-zag stitch around 3 sides of your ruffle (not including the top) just as you did for the runner sides. Along the top, sew a basting stitch so you can slightly gather it.

Gently pull on that basting stitch to give it a slight gather. Match it up to the width of your runner. Pin down your gathers into little pleats.


With right sides pinned together, sew the ruffles on to the ends of the runner. With a hot iron, press down that seam towards the runner.

To hold this seam in place and to help it lay flat, sew a top stitch on the top near your seam.


I love how it turned out. I've got big plans for this little runner.

Stay tuned in next week to see it's party debut. :)
Comments
Post a Comment